|
1/23/2016 0 Comments Vegan Brunch = Omeletes!
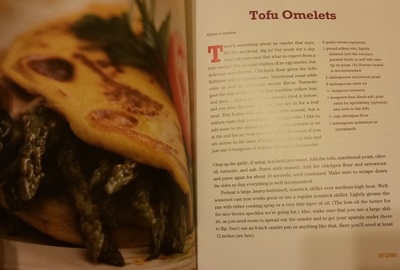
Tofu Omelets by Isa Moskowitz
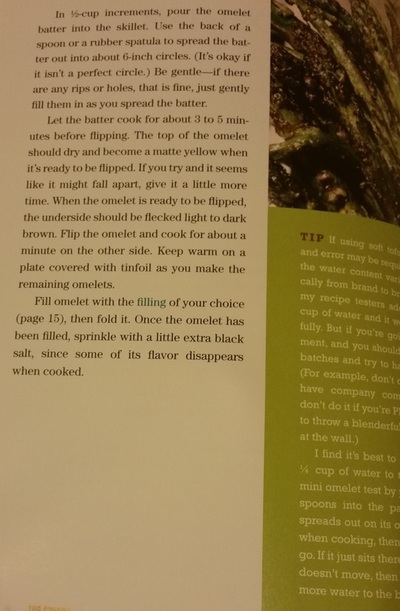
2 cloves garlic 1 14 oz package silken tofu, lightly drained (not the vacuum packed kind), or soft tofu 2 tablespoons nutritional yeast 2 tablespoons olive oil 1/2 teaspoon turmeric 1 teaspoon fine black salt, plus extra for sprinkling 1/2 cup chickpea flour 1 tablespoon arrowroot or cornstarch Chop up the garlic up in a food processor. Add the tofu, nutritional yeast, olive oil, turmeric and salt. Puree until smooth. Add the chickpea flour and cornstarch and puree again for about 10 seconds, until combined. Make sure to scrape down the sides so that everything is well incorporated. Preheat a large, heavy bottomed, non-stick skillet over medium-high heat. Well-seasoned cast iron works great, but if you’re not sure of the non-stickness of your cast iron, do a test (see tip above) or use a regular non-stick skillet. Lightly grease with either cooking spray or a very thin layer of oil. (The less oil the better for the nice brown speckles we’re going for.) Also, make sure that you use a large skillet, as you need room to spread out the omelet and to get your spatula under there to flip. Don’t use an 8- inch omelet pan or anything like that. Here you’ll need at least 12 inches (tee hee). In 1/2 cup measurements, pour omelet batter into skillet. Use the back of a spoon or a rubber spatula to spread the batter out into about 6- inch circles. (It’s okay if it isn’t a perfect circle.) Be gentle when spreading it out, if there are any rips or holes, that is fine, just gently fill them in as you spread the batter. Let cook for about 3 to 5 minutes before flipping. The top of the omelet should dry and become a dull matte yellow when ready to flip. If you begin to flip it and it seems like it might fall apart, give it a little more time. When the omelet is ready to be flipped, the underside should be flecked with light to dark brown when it is ready to flip. Flip omelet and cook for about a minute on the other side. Keep warm on a plate covered with tin foil as you make the remaining omelets. Stuff omelet with the fillings of your choice then fold over. Once the omelet has been filled, sprinkle with a little extra black salt, since some of its flavor disappears when cooked.
0 Comments
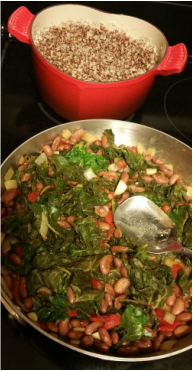 I've been working my way through the Engine 2 diet book with not a lot of love. The recipes take a little to get used to and I'm used to cooking crazy stuff like olive oil or coconut oil or seasonings!... the premise of the diet eliminates oil but why the lack of seasoning, I don't know. Just when I was about to give in this kale recipe was a pleasant surprise! The apple cider vinegar added a great tart flavor, but I added pepper and seasoning salt. For leftovers I layered this and baked in the oven in a cast iron skillet to mix it up.
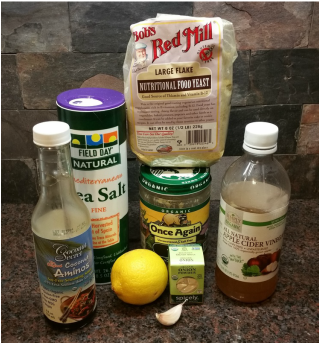
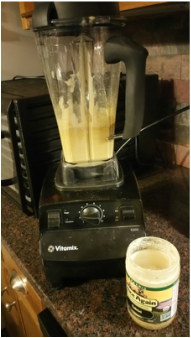
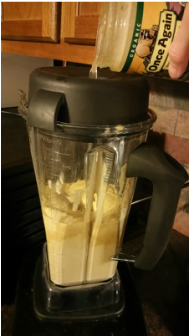
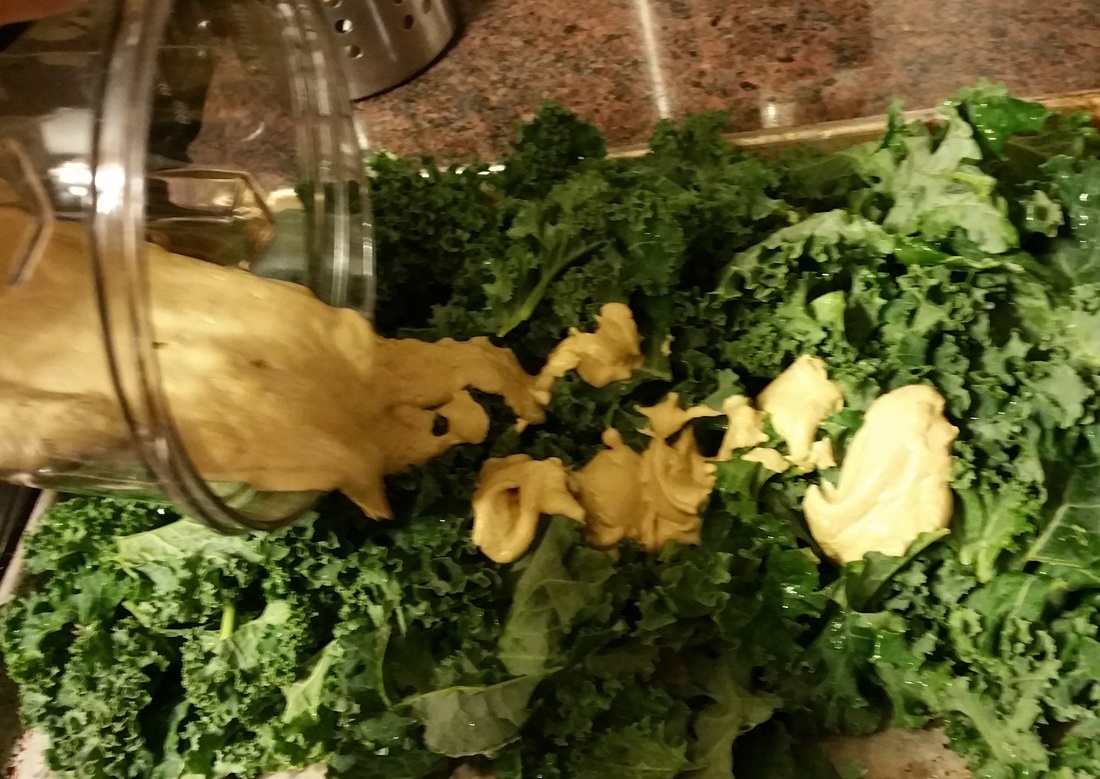
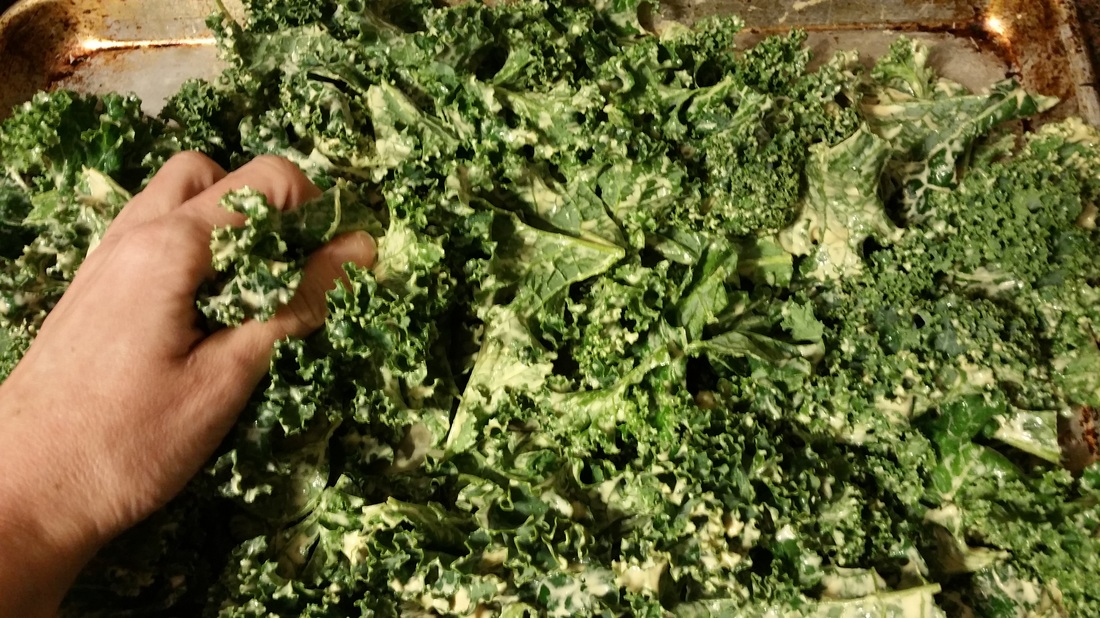
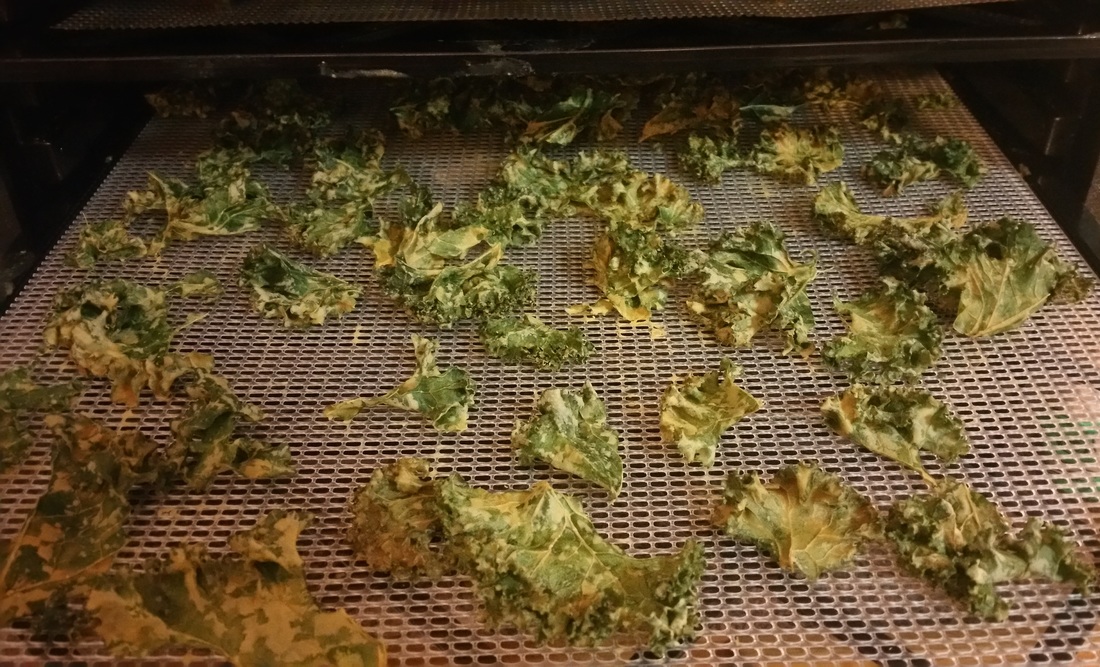
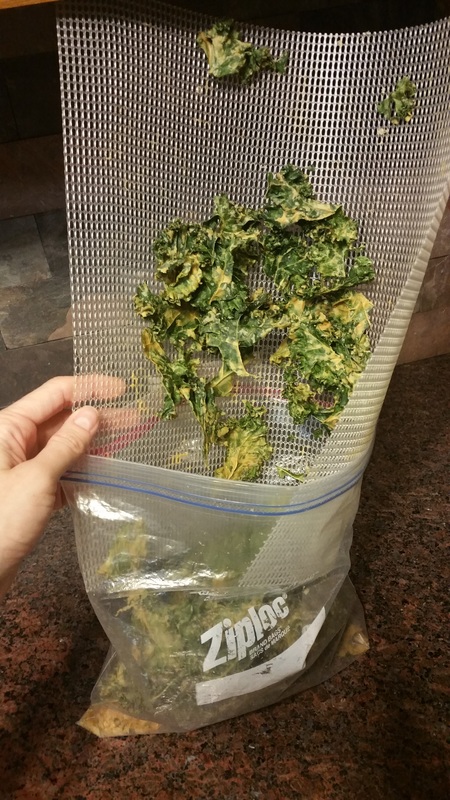
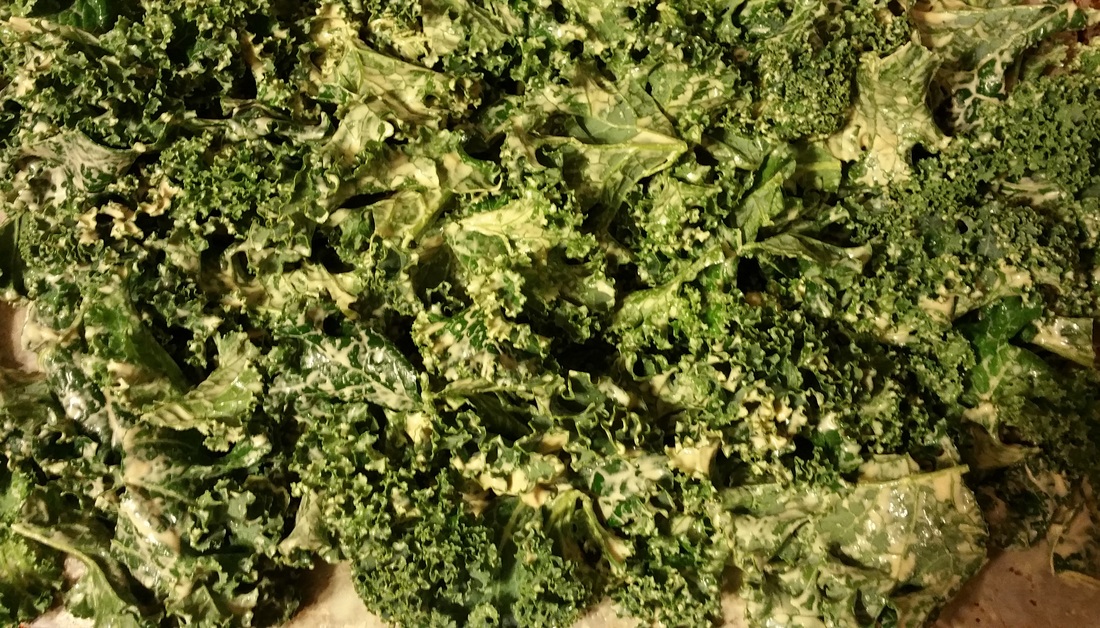
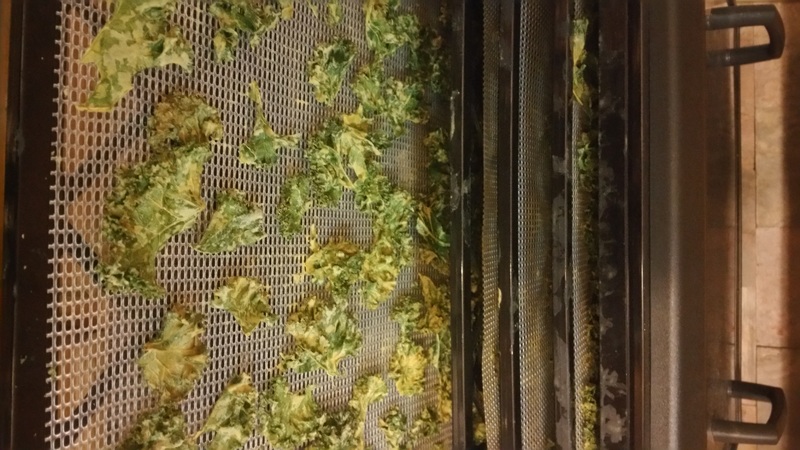
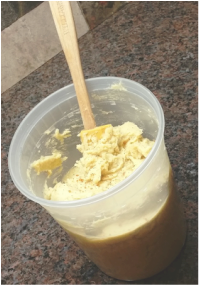
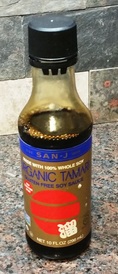
Red Beans over Quinoa with Kale Engine 2 Diet page 178 Ingredients: 4 3/4 C water 2 C quinoa, rinsed in a mesh sieve 1 onion, chopped 2 bay leaves 1 clove garlic, minced 2 green bell peppers, seeded and chopped 1 tsp dried thyme 1 tbsp apple cider vinegar 2 cans red kidney beans, rinsed and drained 1 bunch kale, rinsed and coarsely chopped DIRECTIONS For Cooking Quinoa: Bring 3/4 cups of the water to a boil. Add the rinsed quinoa, stir once, and cover. Cook on medium heat for 25 minutes. If any water remains, cook uncovered for a few minutes longer. The quinoa should not be soggy. Remove from heat, and let the quinoa sit covered for 10 minutes. Fluff gently with a fork. For Kidney Beans: Saute' the onion and bay leaves on medium heat in a sprayed saucepan for 5 minutes, until the onions are translucent. Add the garlic and bell peppers, and cook for 5 minutes, until the peppers soften. Add the thyme, vinegar, beans, and remaining 1 cup of water, and cook on low heat for 5 minutes, until broth thickens. You can speed this process by mashing the beans a few times with a potato masher. For Cooking Kale: Place coarsely chopped kale with 1/4 cup of water in a large covered pot on medium heat. Cook the greens for 3-5 minutes, stirring occasionally, until wilted and tender. Serve on a plate with each ingredient nestled side by side. 1/12/2016 0 Comments Cheezy Kale Chips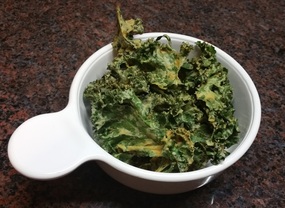 Cheesy Kale Chips Cheesy Kale Chips Kale chips are always a lifesaver during any healthy eating phase I have gone through. They satisfy that crunchy cheesy craving with being approved for any plan I've been on. I got tired of paying the high price until a friend of mine bought a bag from a local health food store. They were the most amazing version I have ever tried. I was happy to give my money to a small local business that created such a tasty snack! Then my friend blew my mind when she took a class there and got the recipe! It was the reason I bought an Excalibur food dehydrator!... to my defense I was pondering it for years and then jumped on it when it was Amazon's Deal of the Day, as did my friend! It was like the universe wanted us to make kale chips! And I do... just about every week! I'm not going to say it's easy, but it it worth it. It's a giant mess and takes some fussing but the results are pretty awesome. Cheezy Kale Chips by Karen's Holistic Health 2 heads Kale 1 cup Tahini 1/2 cup Coconut Aminos 1/2 cup Apple Cider Vinegar 1 tsp Onion Powder 1/2 tsp Garlic Powder 3/4 tsp Sea Salt 1 1/2 cup Nutritional Yeast juice of 1 lemon Water for desired consistency: 3/4-2 cups Wash kale, remove center stems. Tear kale into small pieces so it will lay flat. I find a heavy curly kale works best for chips. The more delicate leaves don't hold up as well. Lay the kale out and dry slightly. I like to make a thick sauce so some water on the leaves is ok. If you make a thinner sauce you will want to dry the leaves more so the sauce sticks better. Blend all other ingredients in high powered blender. The amount of water takes some experimentation. Karen's recipe calls for 2 cups of water but that makes a very thin sauce and enough to cover 4 heads of kale. I found that I like a thick concentrated sauce so I use around 3/4-1 cup and it will cover 2 heads kale. Pour blended sauce over kale and work into leaves. When the sauce is thin this is an easy task and you will have plenty left over. If you make it thick as shown you really need to work it in, making sure it covers each leaf. Leaving the leaves wet if using a thick sauce helps a lot. Lay kale on dehydrator sheets in single layer. Some of the curly ends will not want to lay flat. Gently add the next tray on top to help flatten and make smooth chip. Dehydrate 6 hours at 108 degrees. Store chips in plastic bag in the fridge. If you have extra sauce it will last 4-5 days in the fridge.
1/10/2016 0 Comments Engine No 2 Hummus
|
Jen's Kitchen...is the smallest kitchen ever. We used to watch those decorating shows that said they were doing small kitchens and then could see that 4 of my kitchens would fit in their "small kitchens". 
Archives
March 2022
CategoriesAll Air Fryer Almonds Apple Asparagus Avocado Bagel Banana Bar Bark Bars Basil Beans Beer Beets Black Beans Blueberries Braise Brandy Bread Breakfast Brewers Organics Broccoli Brown Sugar Bruschetta Brussel Sprouts Burger Cabbage Cacao Cake Candy Carrot Cashews Cauliflower Celery Salt Cheddar Cheese Cherry Cherry Tomatoes Chicken Chickpeas Chips Chocolate Clock Shadow Creamery Cocktail Cocoa Coconut Coconut Flour Coconut Sugar Coffee Cookies Corn Cranberries Cream Cucumber Cupcake Dates Dinner Dip Dried Fruit Drink Easy Edamame Eggs Empanadas Farro Fermentation Feta Food Fries Fudge Gluten Free Grapefruit Gravy Greek Yogurt Green Tomatoes Growing Power Hazelnut Herb Home Made Honey ISi Jar Kale Lavender Lemon Lentils Malt Maple Martha Stewart Microwave Mint Mushrooms Nutritional Yeast Oatmeal Oats Omanhene Orange Organicville Paprika Parmesan Parsnip Pasta Peanut Peanut Butter Peas Pepper Pesto Pickles Pie Pineapple Pita Pizza Potato Pretzels Pudding Pumpkin Quiche Quinoa Raisins Raspberry Rice Risotto Roast Rose Salad Salt Sandwich Siracha Slaw Slow Cooker Smoothie Soup Sous Vide Spinach Squash Strawberries Strawberry Sugar River Dairy Sunflower Sushi Sweet Potato Tacos Tamari Tea The Engine No 2 Diet The Food Lab The Spice House Tofu Tomato Tortellini Trader Joe's Trail Mix Trends Truffles Vanilla Vegan Vegetarian Vodka Walnuts Wisconsin Winter Farmer Zombie Zucchini |


 RSS Feed